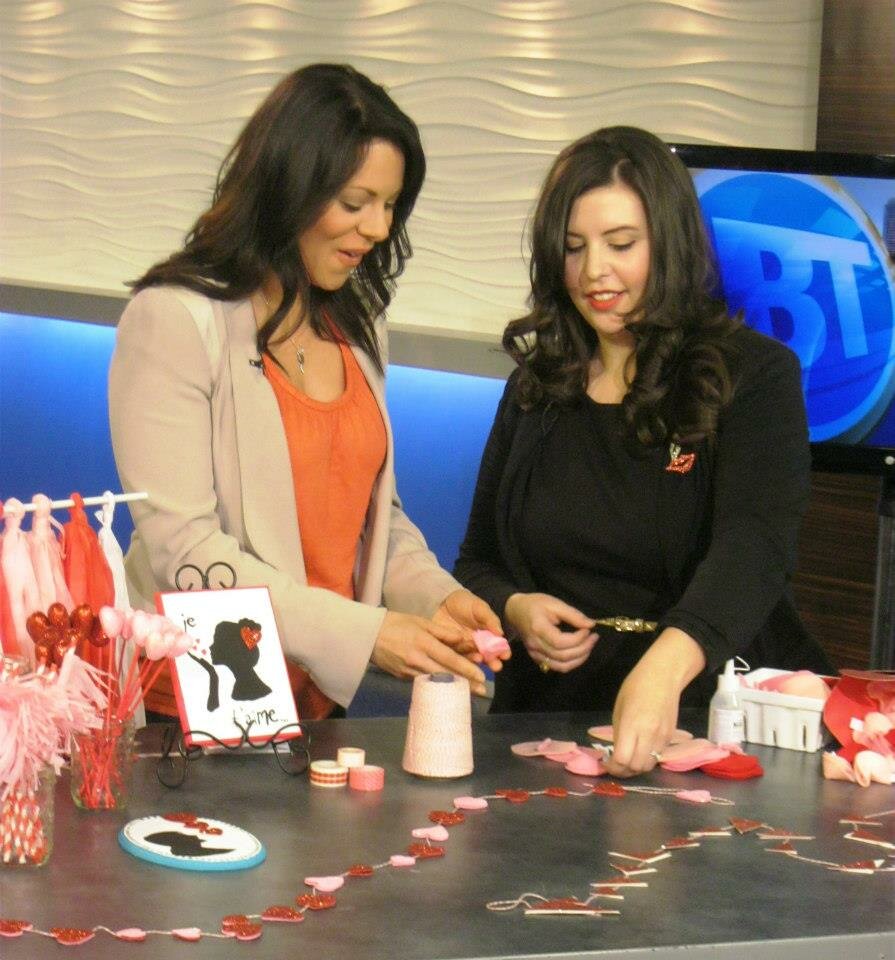
CityTV Breakfast Television

292710_529600590407215_1230982055_n

If you live in Calgary, you may have caught me on Breakfast TV this morning sharing some fun Valentine DIY projects that you and your family can whip up! I was super nervous but I think I did a-okay!

You can check me out in action over here showing how to make love-inspired fortune cookies.

Image from BT Calgary!


triangle divider

Wrapped Books DIY

I love the look of wrapped books. Do you remember wrapping your textbooks during grade school? I just loved the scent of the brown craft paper and creasing the folds just so. Here is a super fun way to dress up some of those books on your shelf that have seen better days. Just grab some pretty wrapping paper and you’ve got yourself a stack worth showing off. Check out the full tutorial over at Swerve Magazine.

Also, don’t you just loved those Andy Warhol soup cans from Target? My lovely friend Micaela in Texas managed to pick them up for me! What a girl….

triangle divider

DIY: Oh My Sign

I am so excited to share with you one of my most favourite DIY projects I have ever done. I love the look of rusted metal lights that look like they fell off an old marquee sign or have aged beautifully in an abandoned carnival so I decided to create my own, complete with the vintage-look round bulbs! This project was done for Swerve Magazine and you can check out all of the steps to making your own here. It was so much fun, was super inexpensive and looks amazing on my office wall. Definitely what this room was missing!

Oh and did I mention that it is made of foam core?! Yes, it is a faux rust treatment I applied to the painted letters and I couldn’t be happier with the effect. I hope you enjoy this DIY and I would love to see some others take this idea and make it even bigger. I could picture it in a cute boutique or filling a whole wall!

Have fun crafting! x

triangle divider

Sitting Pretty Window Seat DIY

Do you have a cozy spot in your house where you can just snuggle up with tons of pillows and blankets and ponder the meaning of life? If you don’t you might want to cheque out my latest Inside Job DIY project in today’s Swerve Magazine. I show how to spruce up a boring window seat (at ‘s house!) into a bright + colourful + inspiring space. Pick up a copy in today’s issue of the Herald or check it out online.

triangle divider

Fun Dip: Easy Kitchen Decor DIY

Dipped objects are setting a trend in home design, fashion, and everyday objects. Usually, the dipped colour contrast is between a neutral shade spiked with a soft pastel or trendy neon. You can “dip” just about anything you want. I started with chopsticks, some wooden spoons, a cheese board, and some vintage cutlery. I also played around with dipped glass jars.  I can’t wait to try the dipped trend on some furniture or with fabric on a cute sundress.

Supplies:

Objects to be dipped

Acrylic craft paints or spray paint

Foam Brushes

Paint tray

Painters Tape


Step one: Using the painters tape mark off the area on your utensils that you want to have the “dipped effect” on them. If you are using spray paint you will need to mask off the entire area of the utensil that is not being painted for health and safety reasons (especially for chopsticks, utensils, cutlery).

Step two: Spray or brush paint on. You may have to do 2-3 coats depending on the consistency of your paint. The goal is to have a very solid coat to look as if it has actually been dipped in the paint.  Let dry for one hour.

Step three: Remove painters tape after the drying period is complete.  I like to give them all a quick wipe down with a damp cloth. Please note, these items must be washed by hand with care. Please do not place in dishwasher.

triangle divider

holiday pie topper project

Last week I showed you holiday cupcake toppers – this week I am stepping it up a notch (we are talking near-Martha levels here) with holiday pie toppers complete with mini banners! Who says cupcakes are the only baked good that should get their toppers.  Our crusted friend, the pie deserves a piece of the action as well. These pie toppers are great for holiday potlucks as a unique way of labeling your contribution to the table.

Supplies:
Bamboo Skewers
String
Patterned Cardstock in your colour of choice
Scissors
White Glue

Tissue Paper

Pie (Homemade or store-bought – we won’t tell)

Optional: Alphabet Pasta


  1. Start off by measuring your pie (or pie plate, if you haven’t baked it yet). You will want your pie topper to sit in the middle of the pie so I would suggest a width of about four inches. Cut a piece of string to this width and tie to each skewer. Using the white glue, secure each knot with a small dot of glue. Allow a few minutes to dry.
  2. Depending where your inspiration takes you, cut out flower shapes or bunting banner triangles.
  3. Glue pieces to string, equally spaced and allow to dry.
  4. Optional: using dry Alphabet Pasta spell out the flavour of pie you made and glue to your mini banner.
  5. Place in skewers in the pie, slap on a Suzie-Homemaker-apron and prepare yourself for your friends to swoon in shock and amazement.
triangle divider